
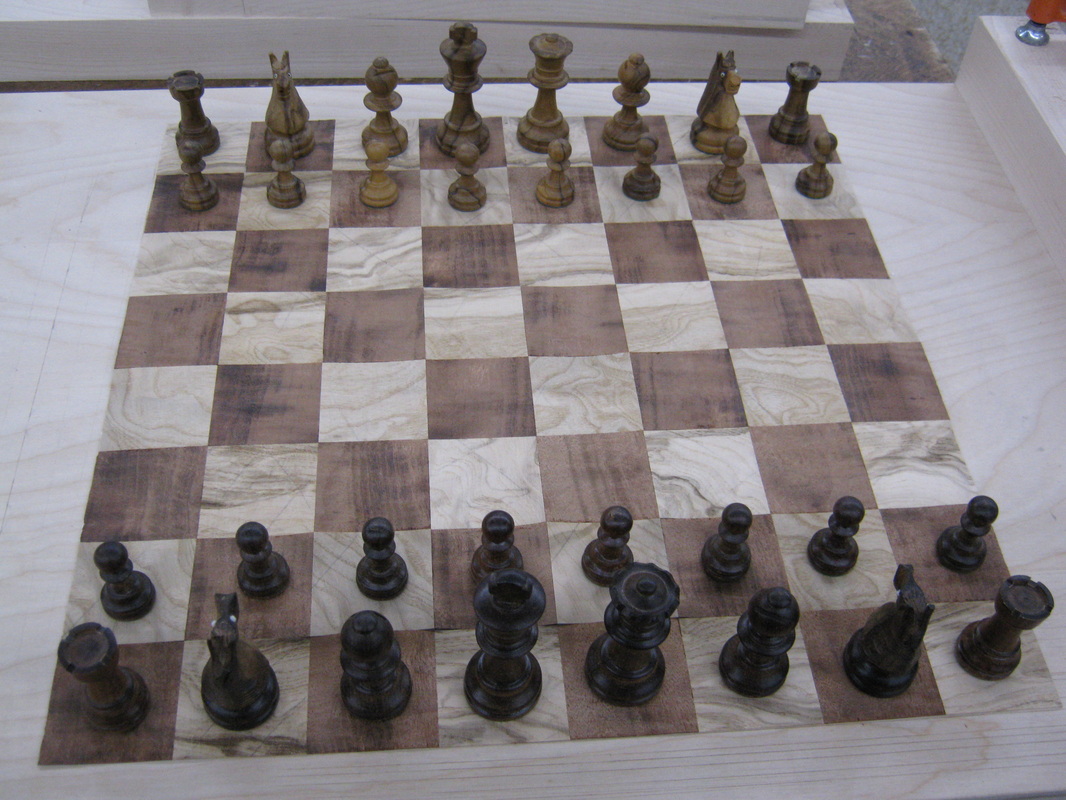
An old client of mine contacted me and asked about making him a chess board to match some pieces he had. Here I am contemplating materials and how to integrate them together.

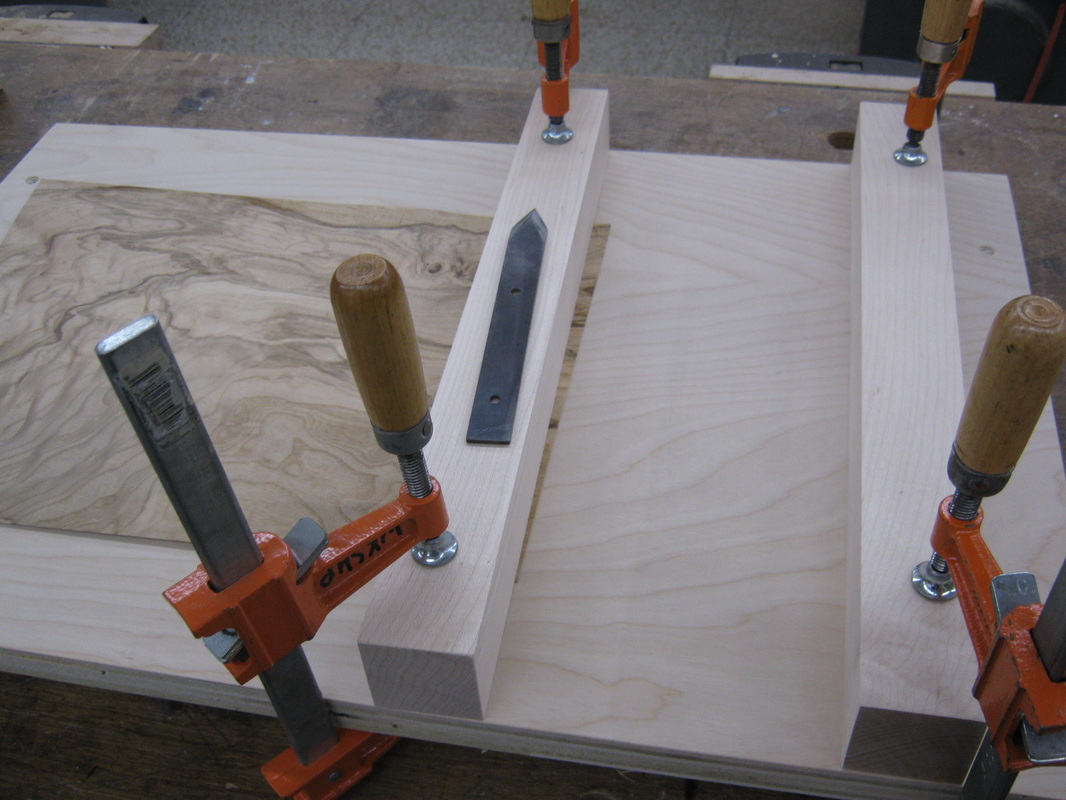
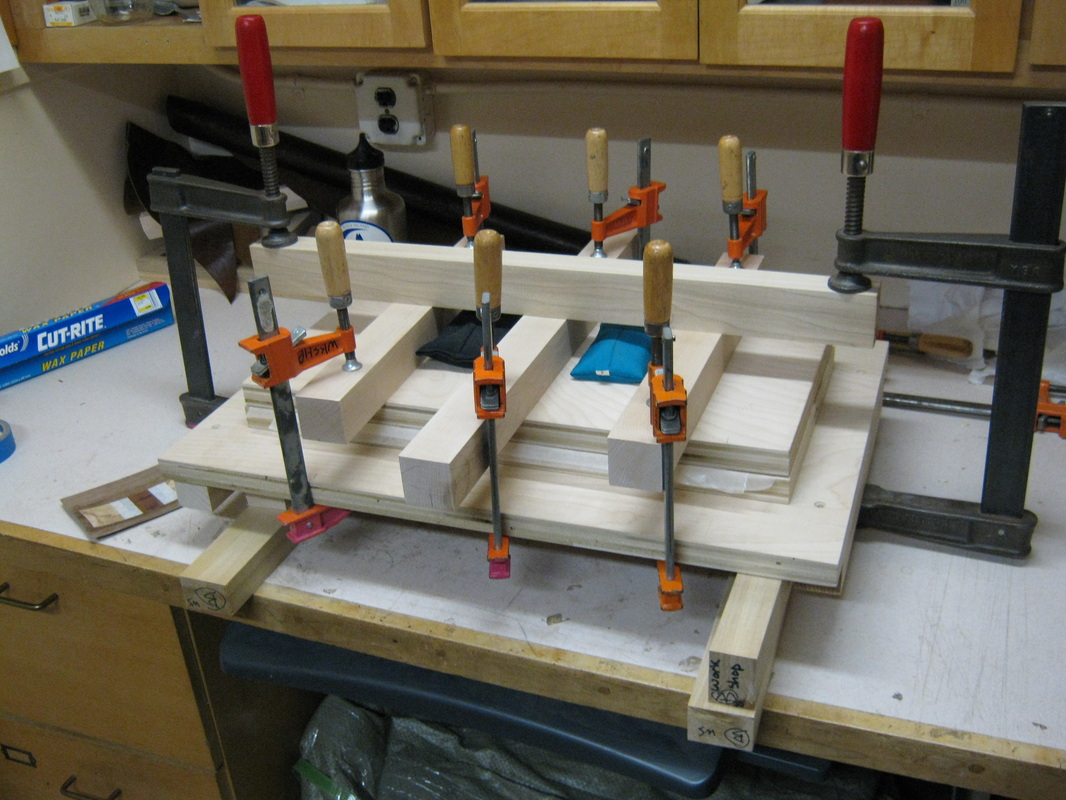
Veneer selections, and jig for cutting strips to width. The maple cauls are 1.75" square.
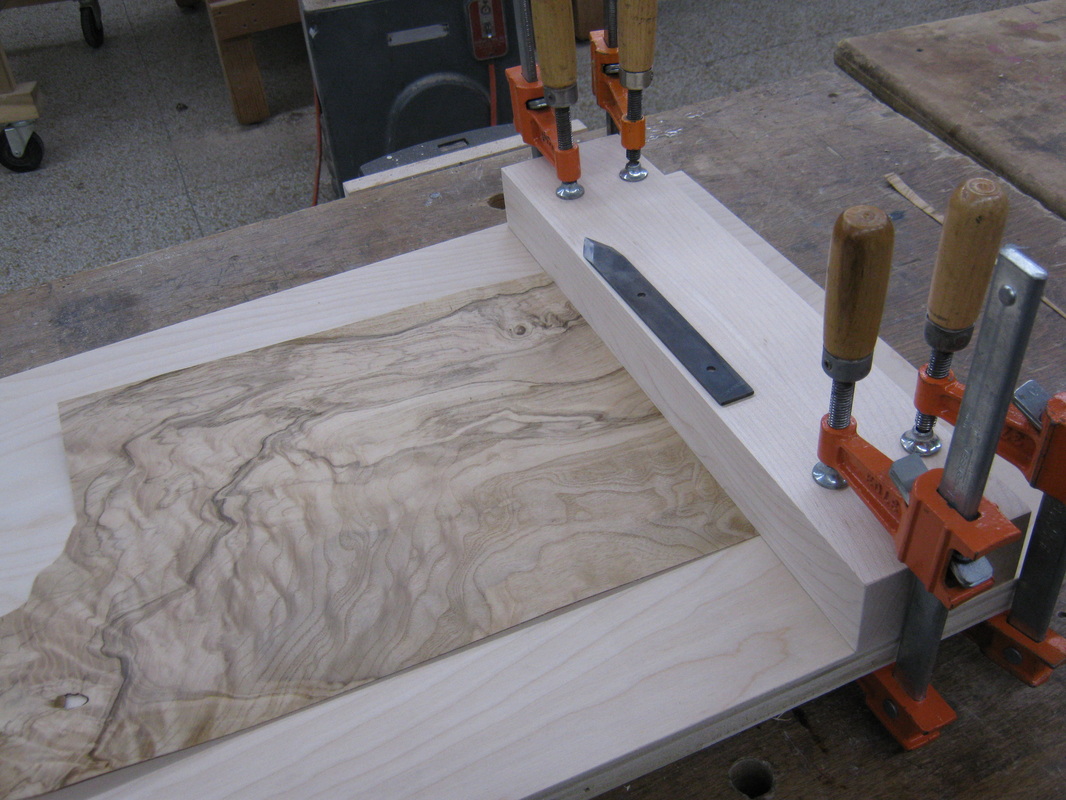
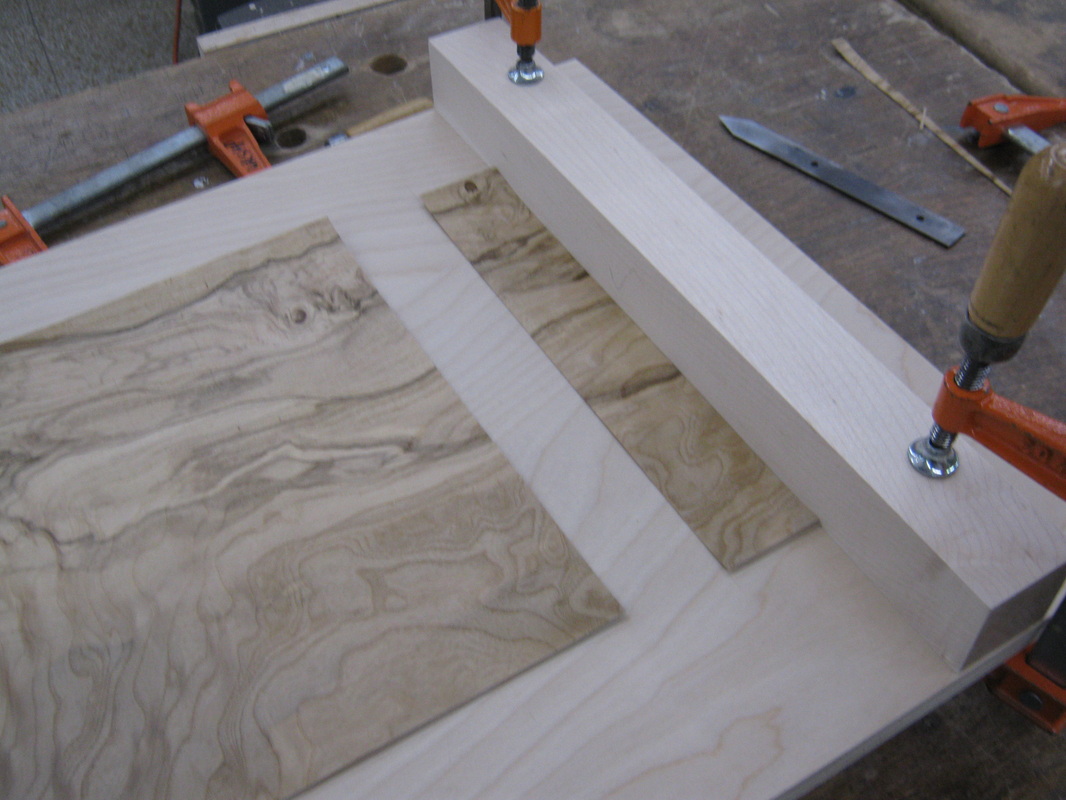
Cleaning up the edge to make it straight.
A cleaned up, straight edge!
The veneer is butted up against the first maple caul, then the second is clamped down over it. After this I cut with my trusted Hock Marking Knife, using the side of the caul as my reference.
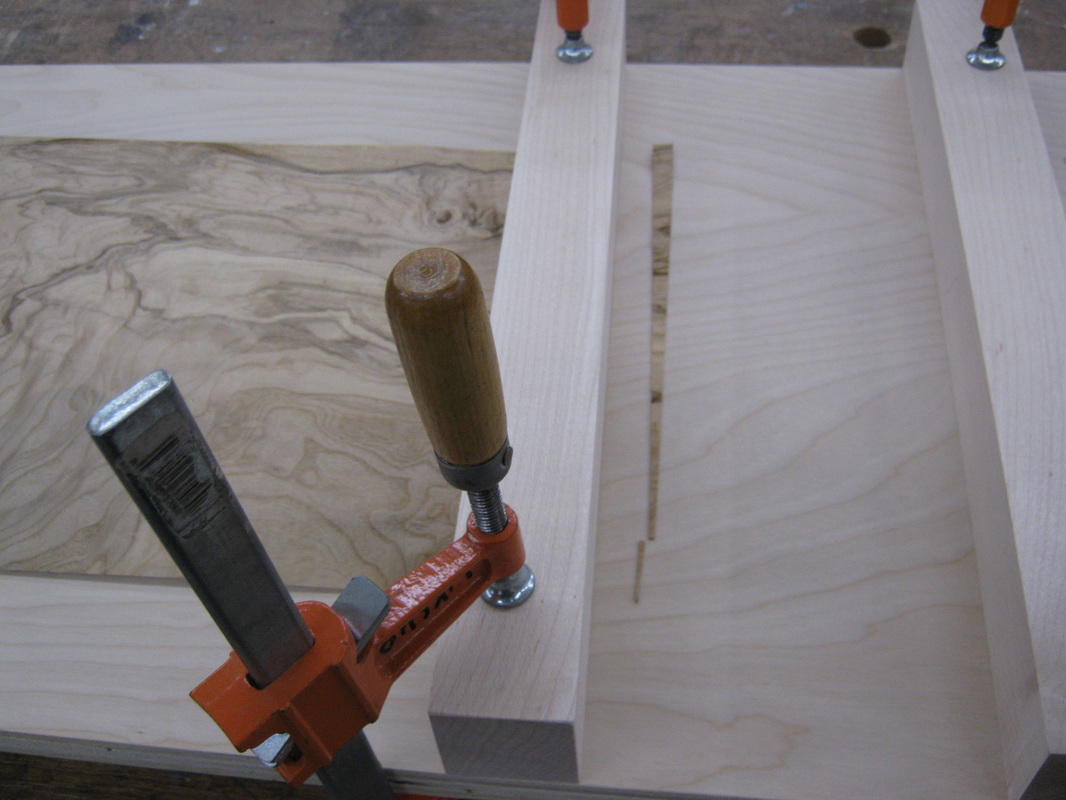
Unclamp the caul and the first strip is created. Repeat this process for all the veneers. Because of the bevel on the marking knife a new, straight edge needs to be cut each time.
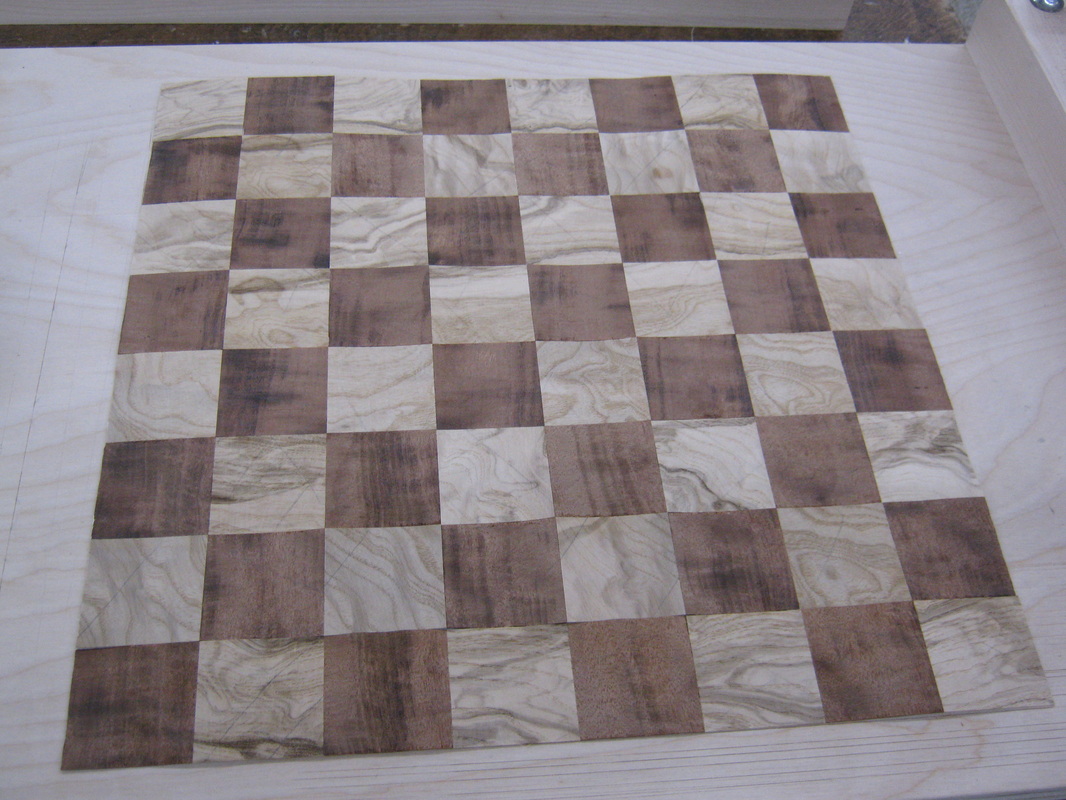
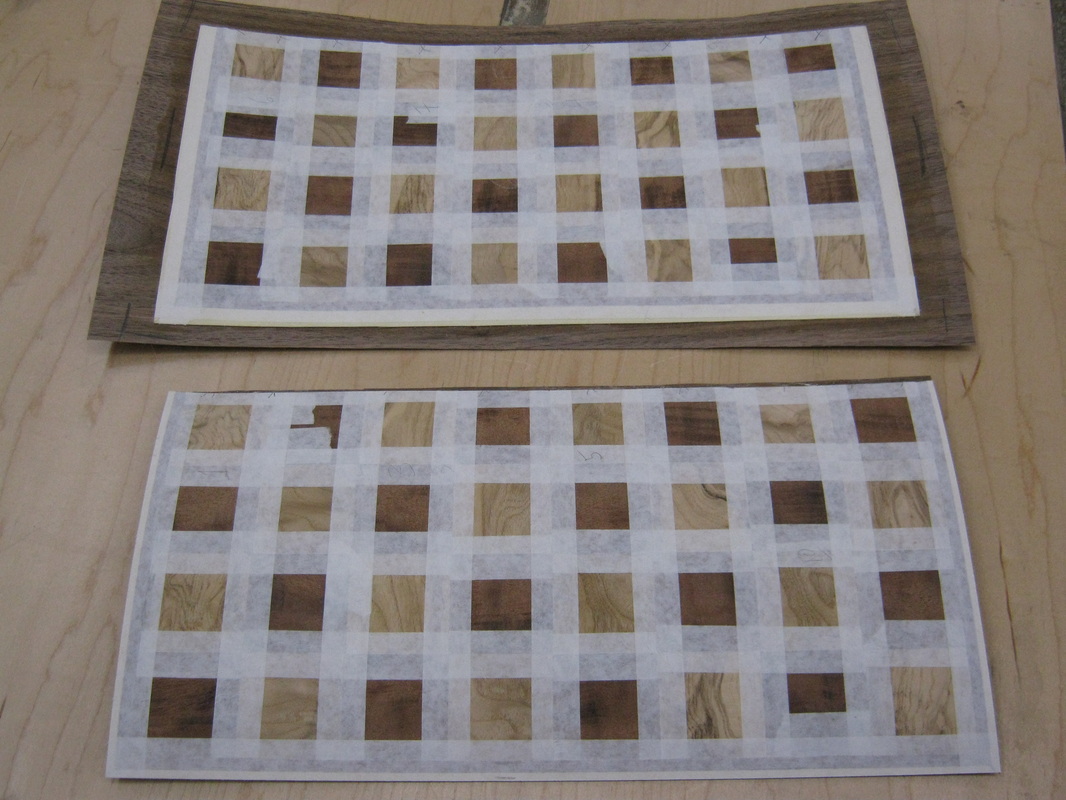
Jumping ahead, here is the board in a rough state. This is the back, or glue side.
Jumping ahead a bit, here is the top of the chess board. That is a very thin veneer tape keeping all of the pieces together in place.
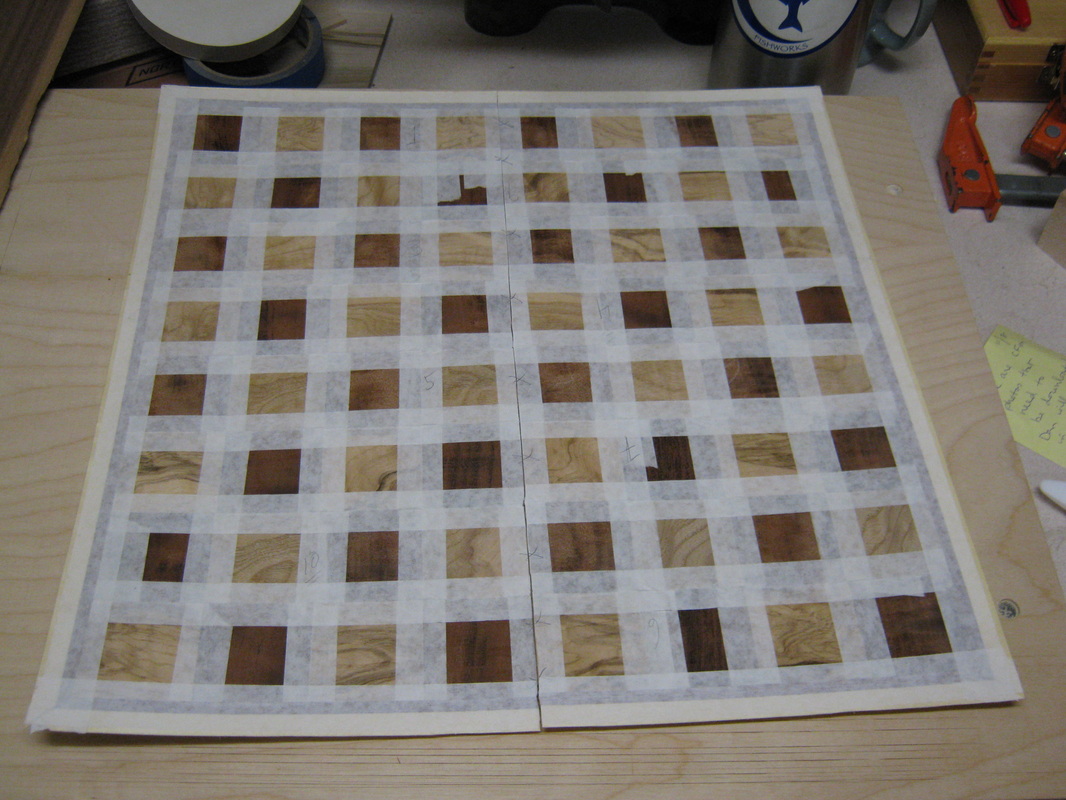
This is the underside of the board, which will be getting glued up to sub layer (backer) veneer very shortly.
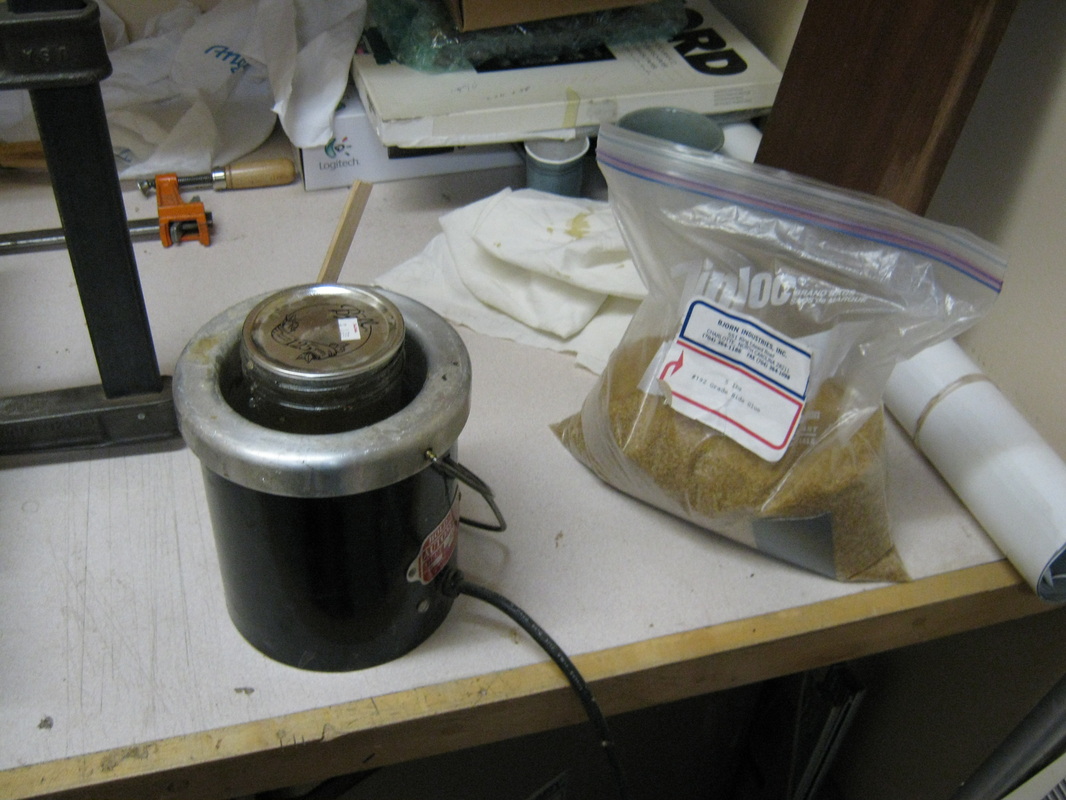
Hide glue, which gets melted in a small double boiler. Hide glue has been used for centuries and is very easy to work with and repair.
Home made veneer press.
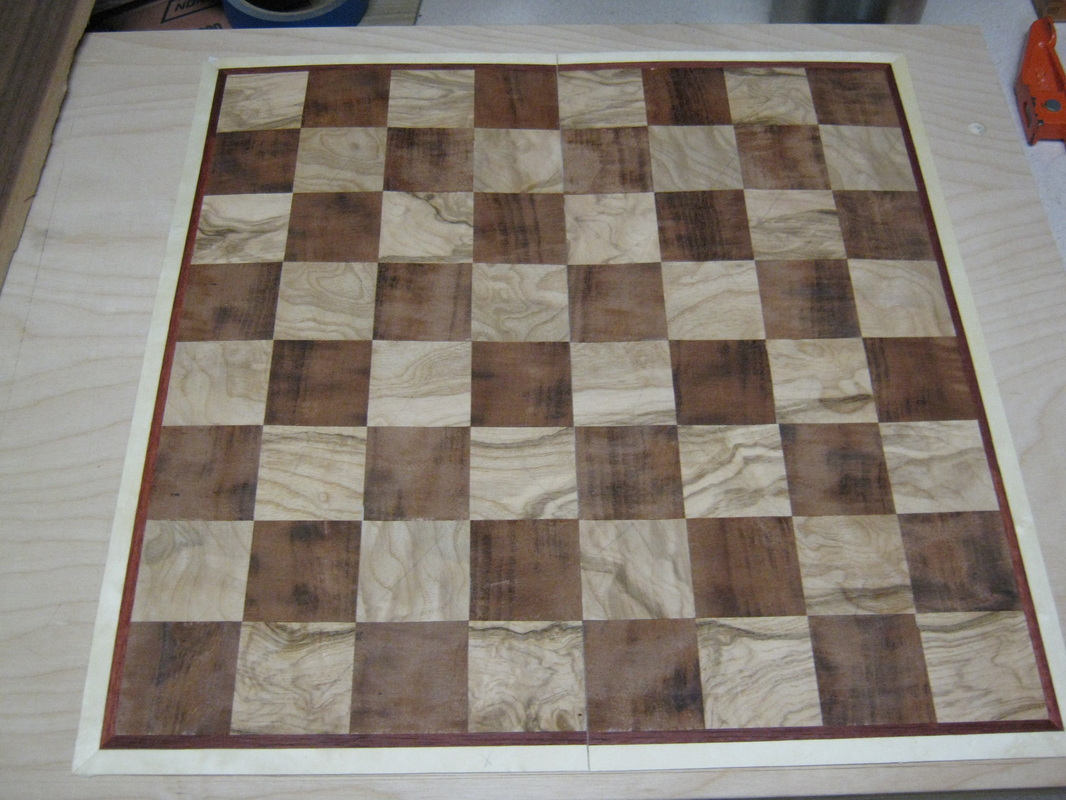
The first half is glued up to the sub layer of veneer, in this case a thin sheet of walnut - it is what I had available and the size and grain direction were correct. Also, I wanted a dark under layer so any small voids or cracks in the board itself would be unlikely to show through. This is also an advantage of hide glue - it is relatively dark in color.
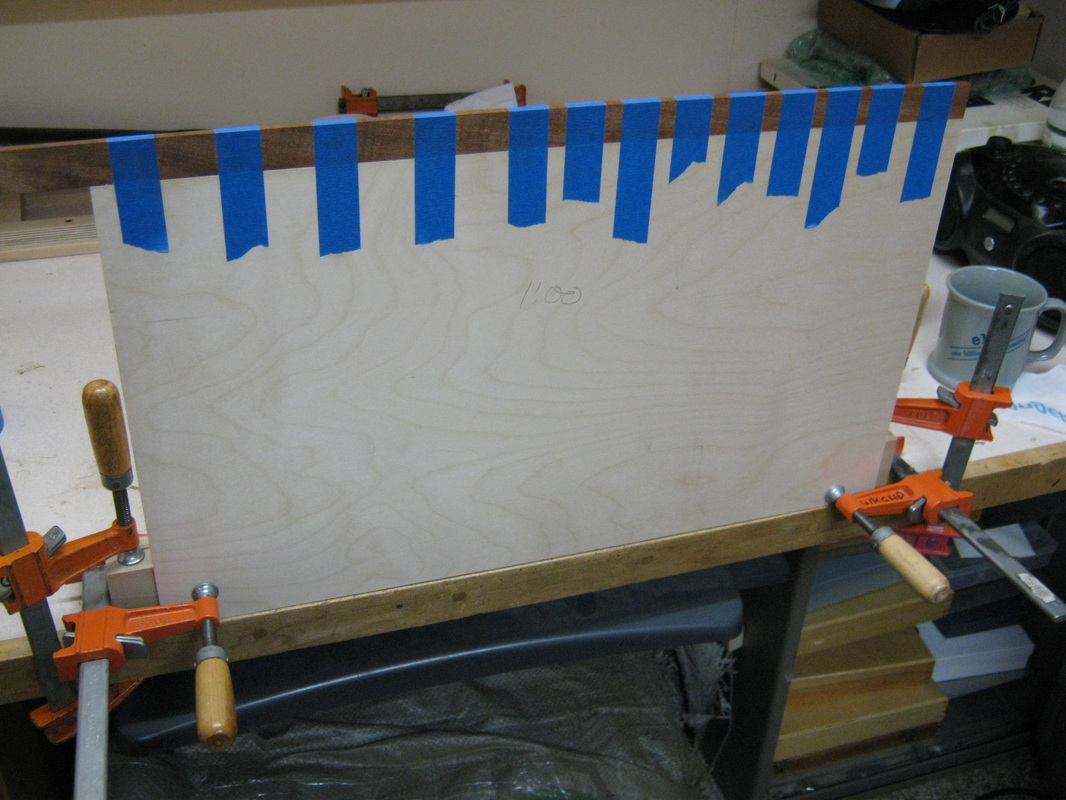
A high quality, 1/4" thick sheet of plywood will form the base of the board. Ah, I should note here as you may be confused already - this will be a folding chess board with storage for the pieces on the inside. It should make sense as things progress. The edge of the plywood will be visible, here I am using tape as a clamp to glue a piece of mahogany to the outer edge.
 RSS Feed
